On This Page
- The Sections of a Registration Page
- Form Fields: How Much to Ask
- Writing an Illustrative Registration Page
- The Thank-You Page: Where Attendance Starts
- Reminder Emails That Boost Turnout
- Live, Recorded and Evergreen Webinars
- What Happens After the Webinar
- Timing and Promotion
- Building the Page
- Common Mistakes
- Webinar Registration Page FAQs
A webinar registration page should make the value of attending obvious in seconds: a specific outcome in the headline, the date and time with a time zone, who's presenting, three to five things attendees will learn and a short form, usually just name and email. Then the work continues on the thank-you page and in reminder emails, which are what turn registrations into attendance.
Treat the page, the thank-you page and the reminders as one system. A great page with no reminders still leaves seats empty.
Registration Page Must-Haves
- Outcome-focused headline
- Date, time and time zone
- Host and why they're credible
- What attendees will learn
- Two-field form and a clear button
The Sections of a Registration Page
Headline
Name the result attendees will walk away with, not just the topic. "Price Your Services With Confidence: A Live 45-Minute Workshop" is stronger than "Pricing Webinar."
Date, Time and Format
Show the date, start time, time zone and length near the top. If you'll share a replay, say so, since it reassures people who might miss the live session. For evergreen or on-demand webinars, explain how viewing works.
What You'll Learn
List three to five specific takeaways as bullets. Specific bullets ("The three-question script for raising rates with existing clients") make the session feel more valuable than general ones ("Pricing tips").
The Host
Add a photo, a short bio and the reason they're worth listening to: relevant experience, results or credentials. If you have guest speakers, include them too.
Proof
Feedback from past attendees, client logos or relevant results build confidence, as long as they're genuine.
Form and Button
Keep the form short. Name and email are enough for most webinars, since you need the email for links and reminders and the name for personalization. Use a button like "Save My Seat" or "Register Free."
Form Fields: How Much to Ask

| Webinar Type | Recommended Fields | Why |
|---|---|---|
| Public educational webinar | First name, email | Maximize registrations |
| B2B webinar for sales follow-up | Name, email, company, role | Qualify leads for sales |
| Small-group workshop | Name, email, one question about their goal | Tailor the session |
| Paid workshop | Name, email, payment | Checkout on the page |
Every extra field reduces registrations a little, so ask only for what you'll use.
Writing an Illustrative Registration Page
Here's how the pieces fit together for an illustrative workshop.
Example: A Small Business Marketing Workshop
Headline: Get More Local Customers From Google in 30 Days
Details: Live on Thursday, March 12, 1:00 to 1:45 pm Eastern. Replay sent to everyone who registers.
You'll learn: How to set up a Google Business Profile that gets calls. The five review requests that customers actually respond to. A simple weekly routine that takes under an hour.
Host: A local marketing consultant with a short bio and photo.
Form: First name and email.
Button: Save My Free Seat
The Thank-You Page: Where Attendance Starts
After someone registers, the thank-you page is your first chance to increase the odds they'll show up.
- Confirm the details: date, time and time zone, written out in full.
- Add calendar buttons for Google Calendar, Outlook and Apple Calendar.
- Explain how they'll join: "Your link will arrive by email. Check your spam folder if you don't see it."
- Give a small task that builds commitment, such as downloading a worksheet to use during the session.
- Encourage sharing if the webinar suits colleagues or friends.
Our thank-you page guide covers more ideas for that moment.
Build your registration and thank-you pages from Leadpages webinar templates, then connect your email tool to send reminders.
Try LeadpagesReminder Emails That Boost Turnout
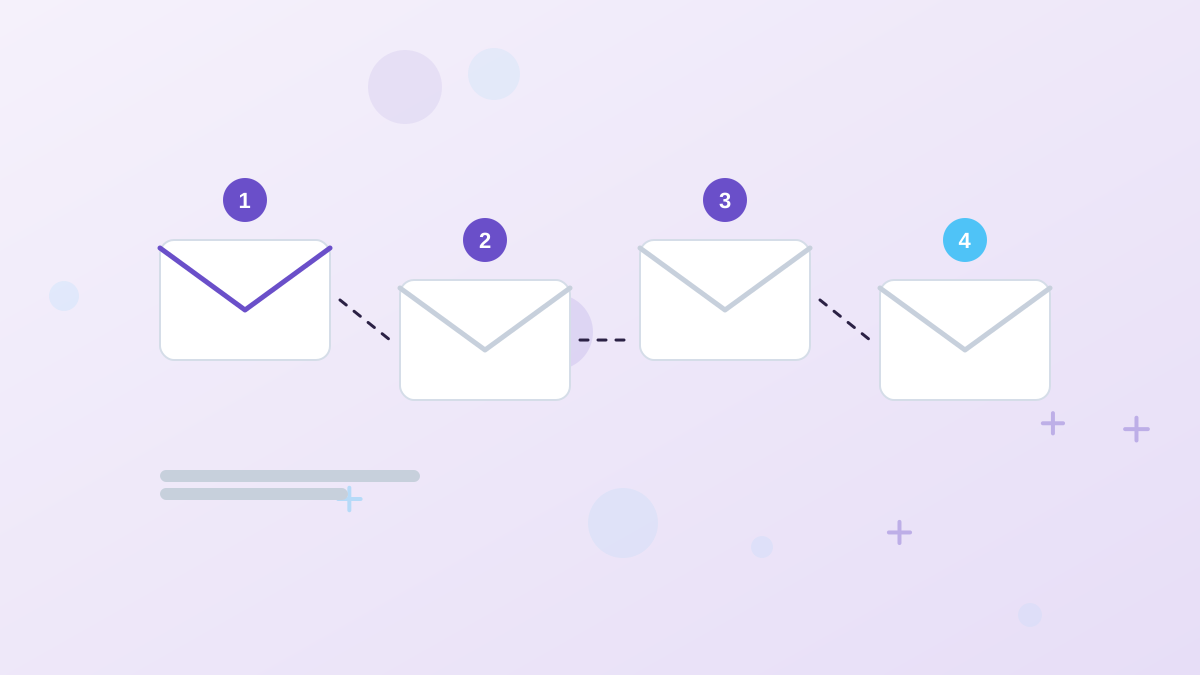
Most no-shows simply forget. A short reminder sequence from your email platform fixes much of that.
| When | |
|---|---|
| Immediately | Confirmation with the joining link and calendar buttons |
| One day before | Reminder with the key takeaway they'll get |
| One hour before | Short reminder with the link |
| At start time | "We're live now" with the link |
| After the event | Replay link and next step |
Keep each reminder brief and include the joining link every time, so people don't have to search for it.
Live, Recorded and Evergreen Webinars
The type of webinar changes what the registration page needs to say.
| Webinar Type | What to Show | Key Reassurance |
|---|---|---|
| Live webinar | Exact date, start time, time zone and length | Replay sent to registrants |
| Live series | Every session date and topic | Join one or all sessions |
| Recorded on a schedule | Several session times to choose from | Pick the time that suits you |
| On-demand | How to watch immediately after signing up | Instant access by email |
Be honest about the format. If the session is pre-recorded, don't present it as live. Visitors who feel misled won't stay to the end or buy afterwards.
What Happens After the Webinar
The registration page starts a sequence that continues well after the session ends. Plan the next step before you launch.
- Send the replay to everyone, including attendees who want to rewatch.
- Make an offer if the webinar leads to a product or service, with a clear deadline only if it's real.
- Follow up by segment: attendees who stayed to the end are warmer than registrants who never joined.
- Ask for feedback with a one-question survey, which also tells you how to improve the next session.
If the webinar leads to a sale, a dedicated sales page linked from the replay email gives undecided viewers the full details in one place.
Timing and Promotion
Promote the webinar over a few weeks rather than a few days, so people can plan around it. Share it with your email list, on social media and, if the event is important, through ads to a well-targeted audience. Our Facebook ads landing page guide covers matching your ad to the page.
Consider your audience's schedule when choosing a time. B2B audiences often prefer midweek working hours; consumer audiences may prefer evenings. If your audience spans time zones, a recording helps.
Building the Page
Most landing page builders include webinar templates. In Leadpages, webinar registration templates come with date, host and agenda sections ready to edit, and the AI builder can draft a page from a short description of your session. Connect the form to your email tool or webinar platform, so registrants receive the joining link and reminders automatically. If the workshop is paid, Stripe checkout can handle payment on the page.
Our Leadpages templates guide explains how to choose a starting layout.
Common Mistakes
- No time zone, leading to confused or missed attendees.
- A vague headline that describes the topic instead of the outcome.
- Long forms for a free educational session.
- No reminders, so many registrants forget.
- No replay mention, losing people who can't attend live.
Webinar Registration Page FAQs
What should a webinar registration page include?
An outcome-focused headline, the date, time and time zone, the host, what attendees will learn, any proof and a short registration form.
How many fields should a webinar registration form have?
For most free webinars, first name and email are enough. Add fields only if you'll use them for sales follow-up or tailoring the session.
How do you increase webinar attendance?
Use a thank-you page with calendar buttons, send reminder emails before the event and at start time, and mention that a replay is available.
Should you offer a replay?
Usually yes. It reassures people who can't attend live and often increases registrations.
Can you charge for a webinar on a landing page?
Yes. Add a checkout to the registration page. Leadpages includes Stripe checkout for one-time payments.